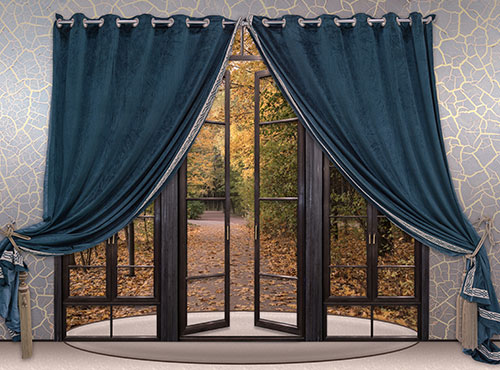
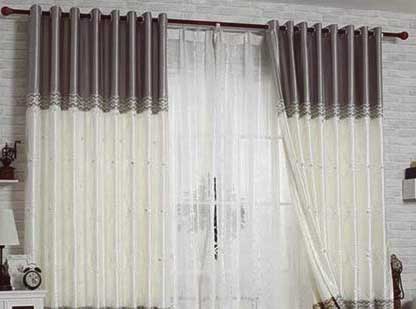
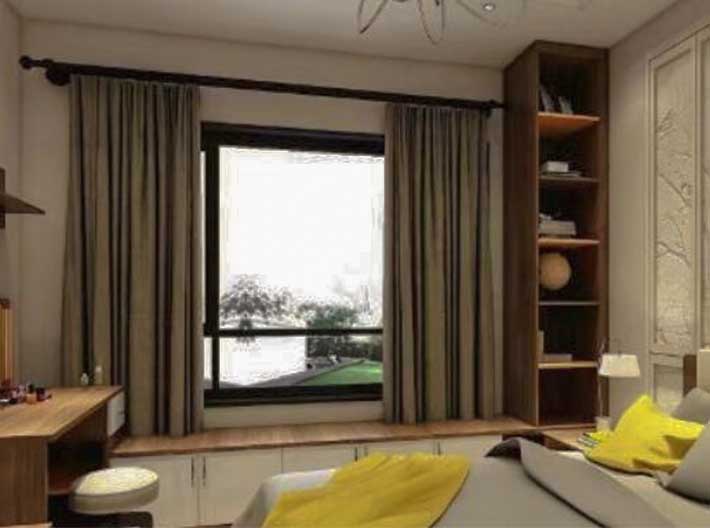
How to Install a Curtain Rod Easily?
Are you looking at a bare window and wondering how you are going to install the curtain rod? Choosing the right curtain rods for your window treatment is always much more fun than the actual installation process, which most people perceive as a chore. It does not always have to seem that way, all you need is to just master the art of curtain rod installation. In order to do that you need to first understand the components of a curtain rod.
Follow the following points, you can easily finish your curtain rod installation:
3. Curtain rod installation process
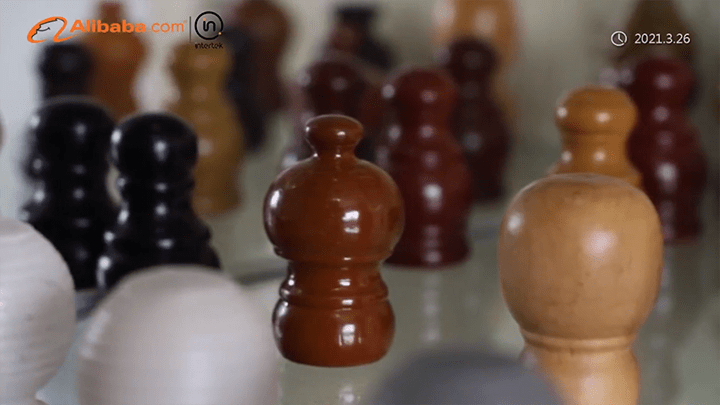
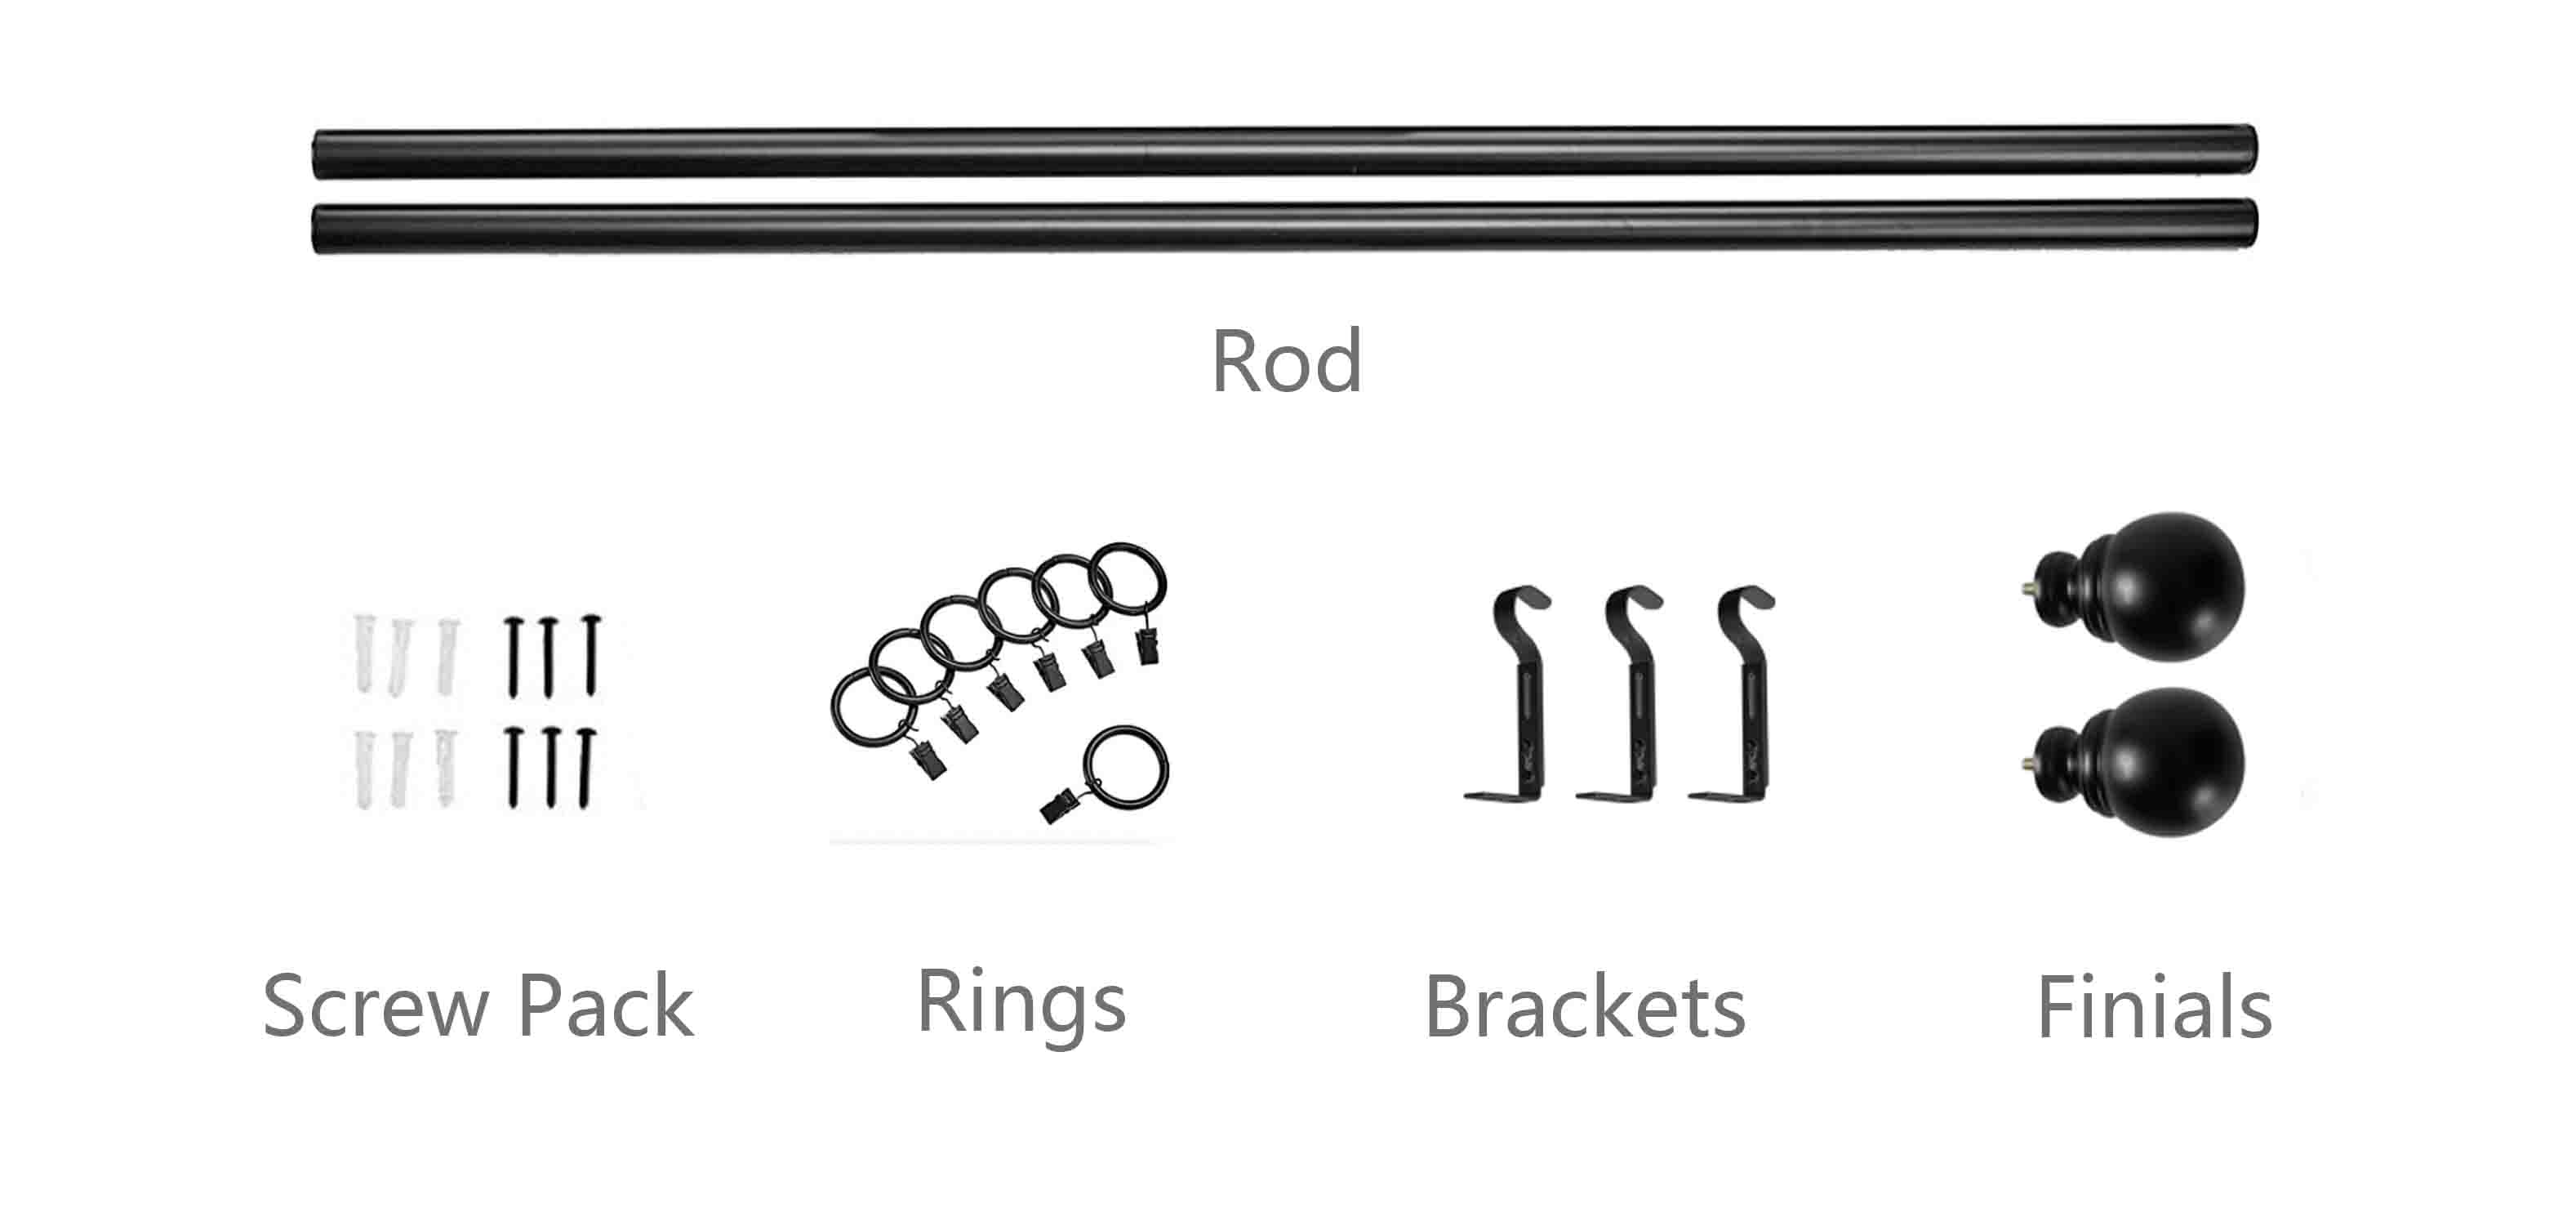
Curtain rods are usually available in different styles, from different wood designs to metal finishes all in various lengths and sizes. All of which are usually in different sizes depending on the size of your window.But despite their different styles and designs, they all have the same components which include:
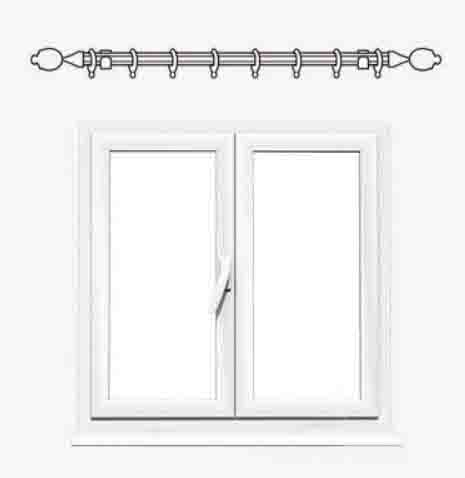
· Rod
· Brackets
· Finials
· Rings
· Screw Pack
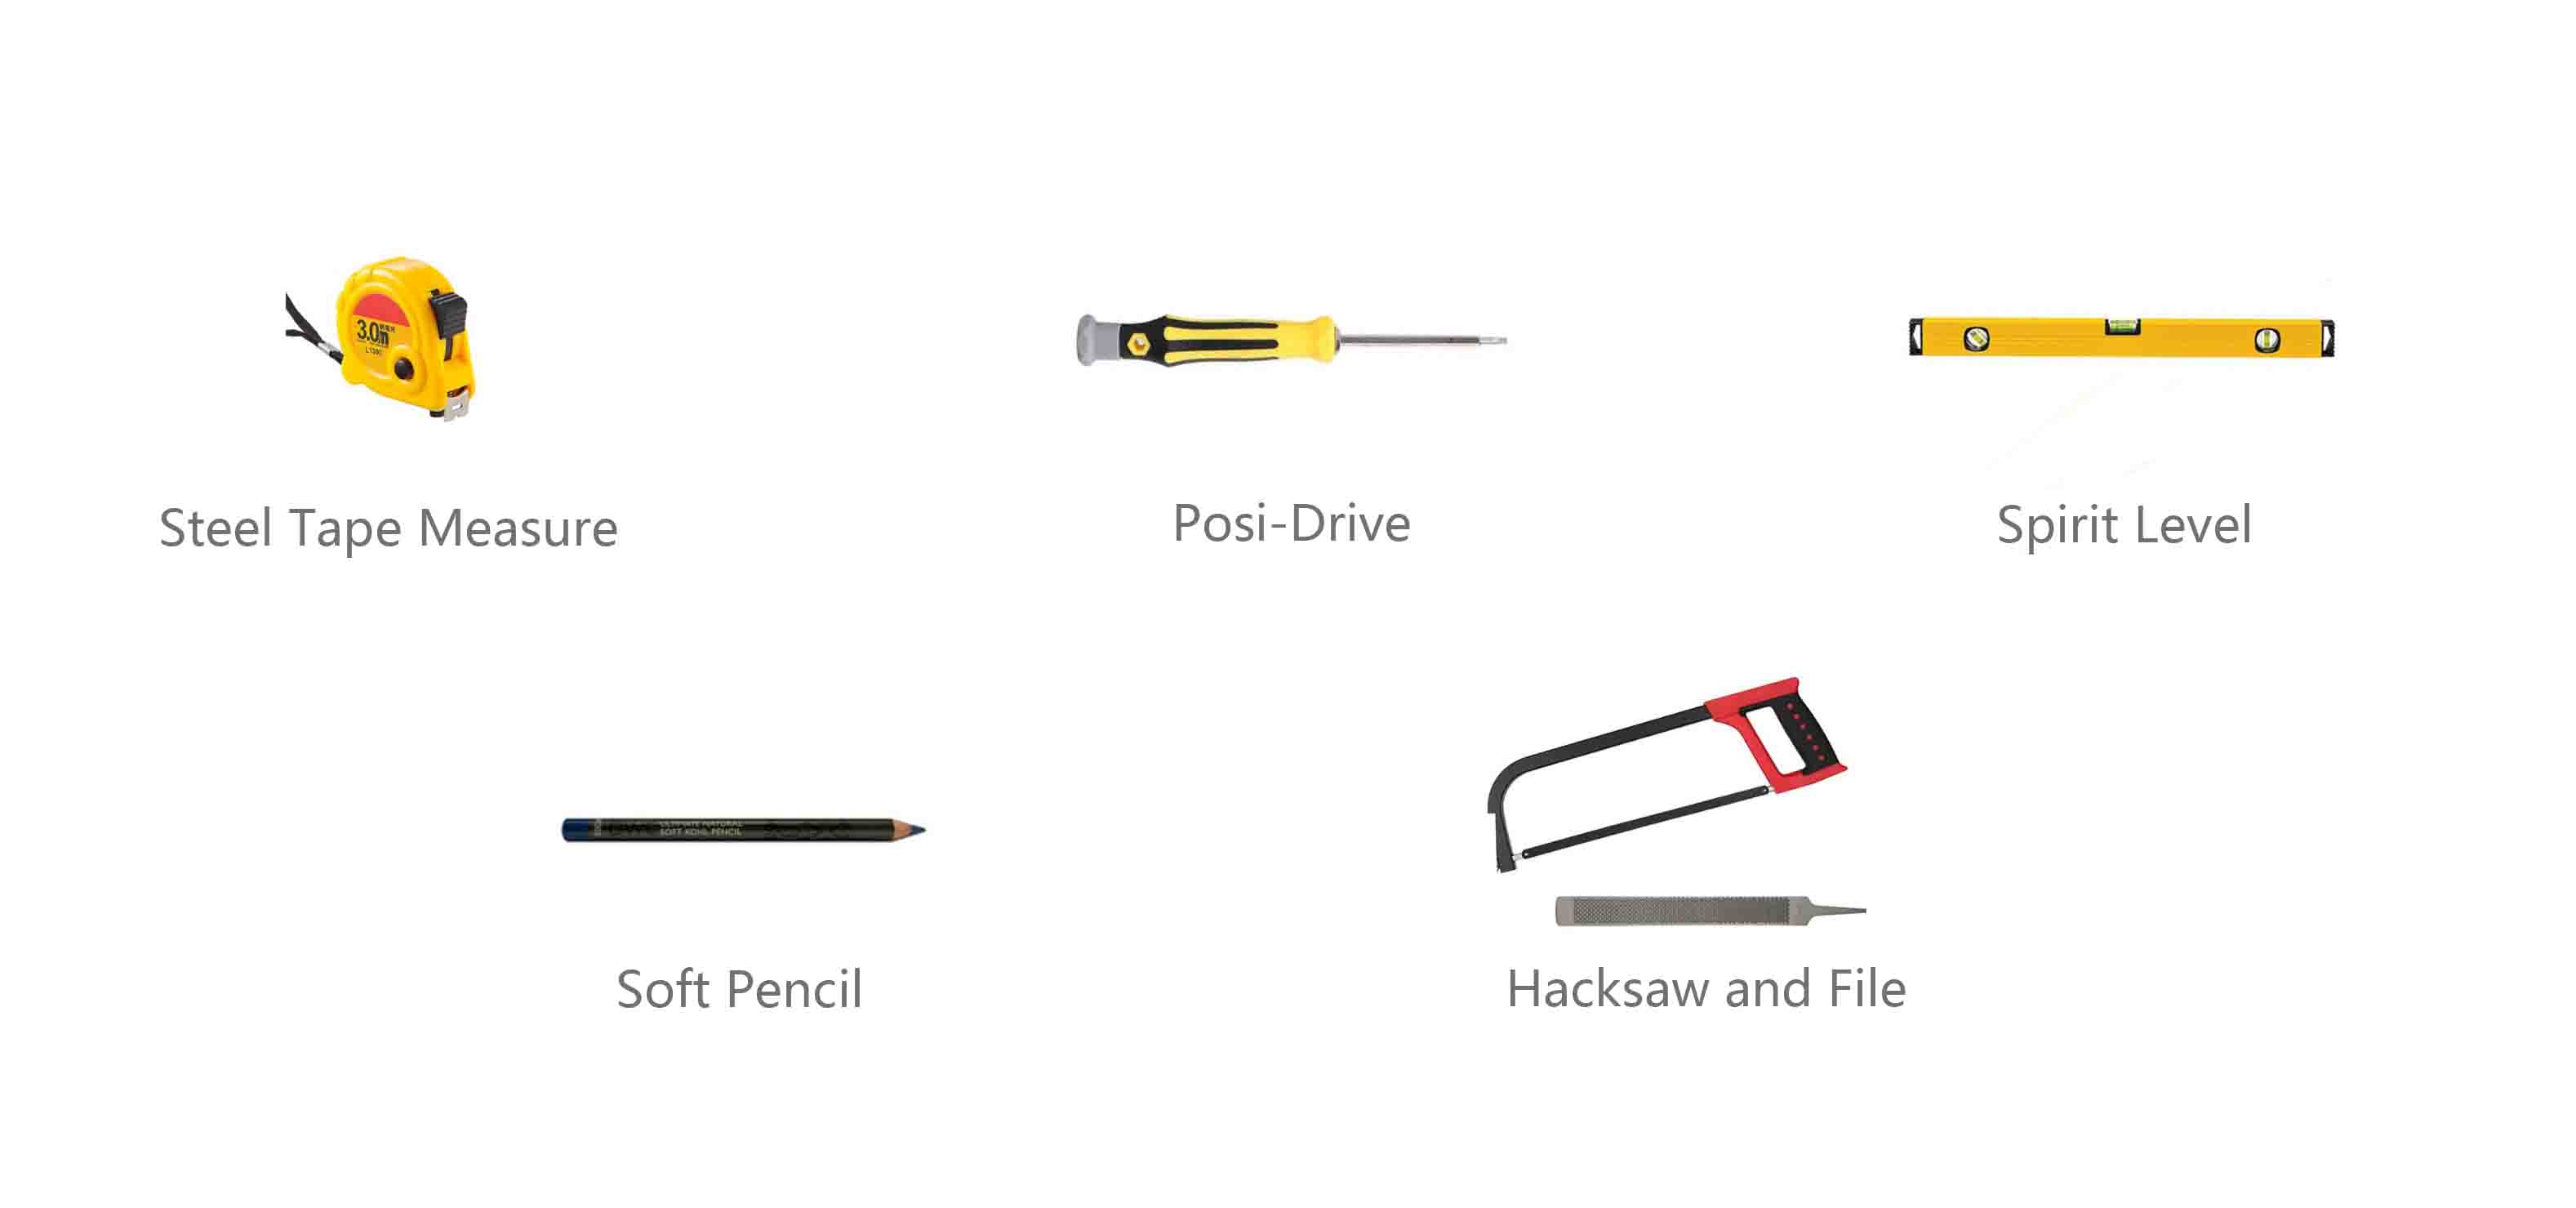
In order to install the curtain rod, you will also require several tools that you are likely to find at your local hardware. These tools include:
· Steel Tape Measure
· Soft Pencil
· Posi-Drive Screw Driver
· Spirit Level
· Hacksaw and File(Not necessarily)
Installation and Assembly
Remember, despite the type of curtain rod you’ve purchased each and every single type usually comes with an installation guide, it’s advisable to read through it before doing anything. Also, make sure that you follow the instructions that you will find on the guide as they can save you a lot of time.
Before you begin the installation process there are a few things that you are required to take note of, such as:
· Before drilling into the walls ensure that there no water pipes or electrical cables running inside the wall.
· Ensure that you have the right wall plugs depending on the wall type.
· In case you are installing on a non-solid wall ensure that you use the appropriate wall fixings.
Curtain rod installation process
Step No: 1
Carefully remove the curtain rod packaging and then gather all the tools that you will need for the installation, also make sure that you familiarize yourself with the different parts that were in the curtain rod packaging. The purpose of familiarizing yourself is to ensure that you know which part is which.
In most curtain rod packaging you will find an installation guide that is meant to guide you throughout the entire installation process, however, most people tend to just throw it away without reading it. It’s always advisable to read it so as to have a grasp of what you are doing.
Step No: 2
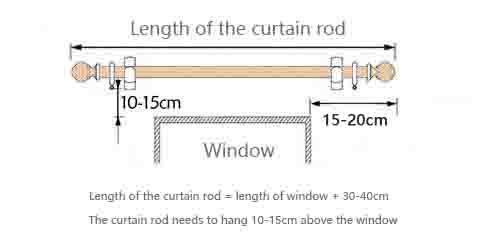
Hold the pole up and try to determine how high you want the curtain rod to be installed. This is usually mainly determined by how long the curtains are or your interior decor. After you’ve determined the correct positioning, it's time to mark the position where to put the brackets depending on the length of the pole.
The ideal bracket position is usually 10-15 cm above the window and about 10cm from the edge of the window. Despite the positioning of your brackets always ensure that you leave enough space on either side to accommodate the curtains when they are opened up. In some instances, the pole might be too long and you might require to adjust or shorten it. To do so remove the Finials on both ends and cut equal amounts from each end. In case a curtain rod has two poles ensure you do the same to each one of them.
Step No: 3
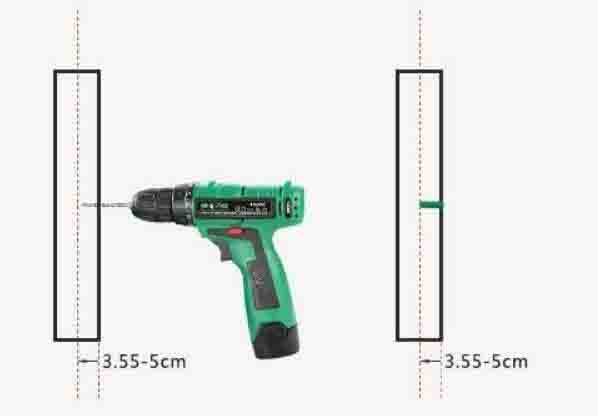
After marking the bracket positioning on the wall using a spirit level to ensure that the brackets are on the same level. You can also opt to hold the pole up against the bracket positioning marks to double-check whether the position is level before you start to drill.
Step No: 4
If both positions are level, take your brackets put them against the position you marked on the wall and mark two holes on each side of the wall and then drill the holes.
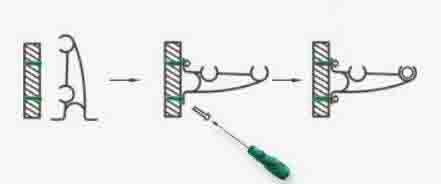
Step No: 5
Using the screws and wall plugs provided, fix the brackets securely on both sides of the wall and depending on the wall type use wall fixings where necessary.
Step No: 6
Put the pole onto the brackets and try to centralize it over the window and in a scenario where there are two poles ensure that the joint of the two poles align with the center bracket.
Step No: 7
At this step take down the pole and remove the finials on either side and then slide in the required number of curtain rings required on each side.
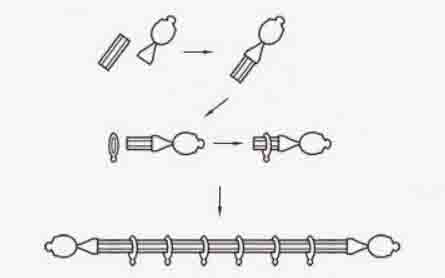
Step No: 8
Reposition the pole back onto the brackets and then tighten the locking screws holding the brackets.
Step No: 9
Mount back the finials on each side of the pole and tighten the screws found the finials, once that is done the pole is ready to accept curtains.
Step No: 10
After the whole assembly and installation process is over, wipe the pole with a dry cloth to get rid of any dirt or fingerprint. As a way of trying to maintain the pole and sure smooth performance, it’s always advisable to regularly wipe the pole with a furniture polish from time to time.
Please note that some specifications may change depending on the type of curtain rod you are installing. You should also note that the perfect or right curtain rod placement usually depends on the positioning of the window on the wall. For example, if you are dealing with a window that is not positioned at the center of a wall but instead it's much closer to the corner of the wall on one side than the other, it’s recommended that you use a slightly longer curtain rod than the window itself, so as to create an illusion like effect that makes the entire window look more centered.
Installation Guide Video
Following the step-by-step guide might not be that simple for everyone, so in case you need a more vivid guide here is a video showing you a step-by-step installation process that will guide you in a simpler manner.
At Baihong Hardware we manufacture some of the best curtain rods in the market, with 14+ years in the business and with a group of highly trained professional technicians. Our products come second to none, in terms of quality, rigidity, and style. You can take a quick look at our products here (please click me)to have a clear view of some of our products.